
Our Project Gallery
Real projects throughout Glasgow and surrounding areas. Sectioned by trade discipline and documented in the exact photographic order of start to finish.
Window Reveal Surround Band: Start to Finish
Step 1: Boarded lintel, perimeter insulation foam sealing, and laser-straight metal corner beads set around the new window aperture. Step 2: Crisp, smooth-floated waterproof render band framing the window flawlessly against the Scottish roughcast.
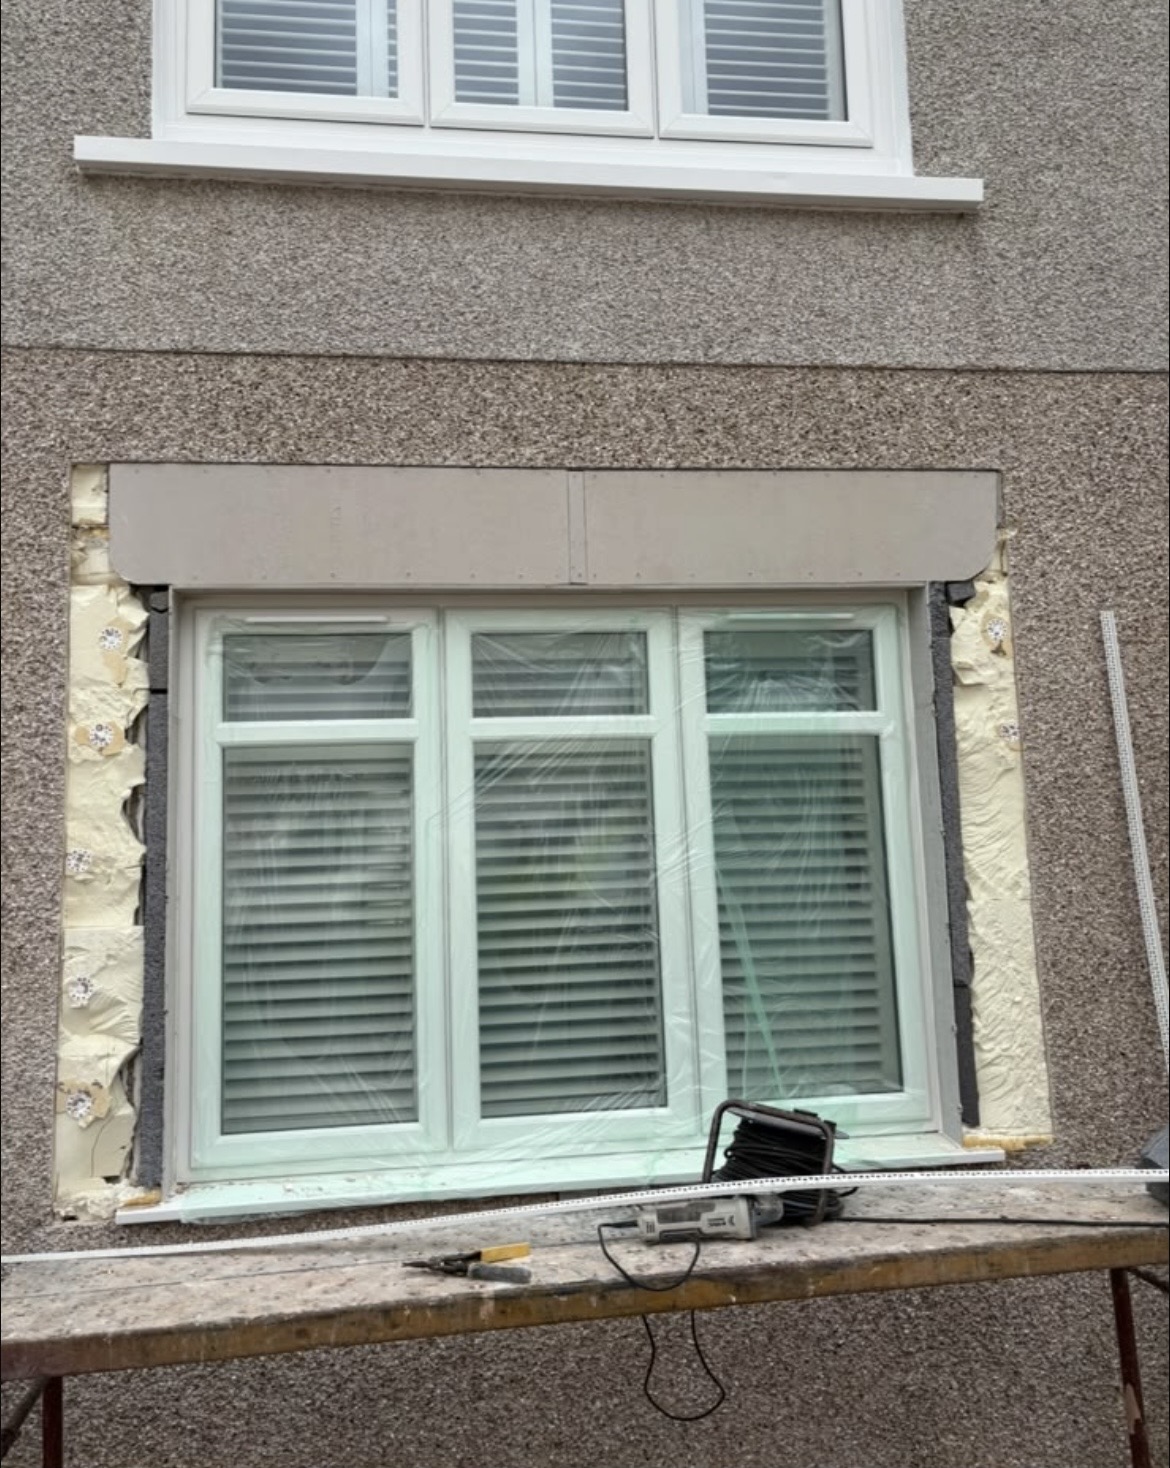 START • 01Insulation Prep & Lintel Board
1. Aperture Prep, Boarding & Edge Beads (Start)
Roughcast chipped back cleanly, board fixed across lintel, perimeter foam insulation sealed, and protective sheeting applied to the glazing with true angle beads.
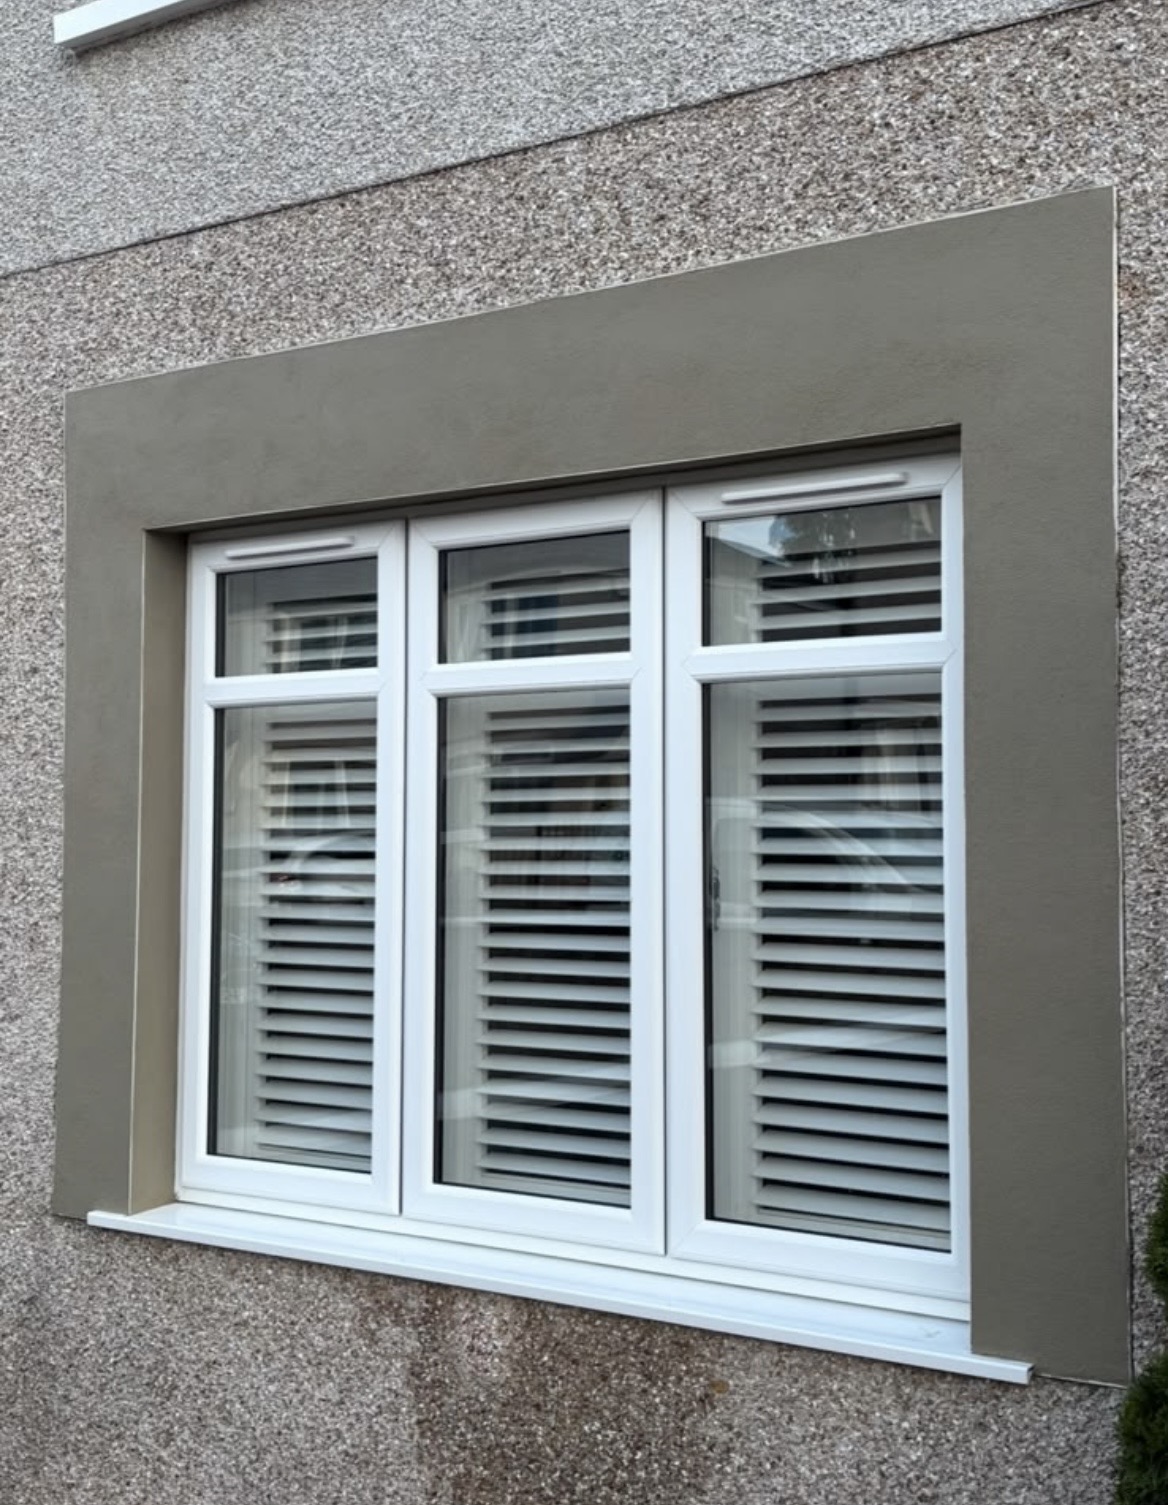 FINISH • 02Crisp Architectural Surround
2. Flawless Smooth Render Surround Band (Finish)
Waterproof exterior render sponge-floated to crisp lines, framing the white windows cleanly against the roughcast facade with clean silicone seals.
Dormer Window & Sloped Ceiling: Start to Finish
Step 1: Drywall plasterboarding across steep loft slopes, dormer cheeks, window lintel, and scrim-taped joints. Step 2: Rich, glass-smooth multi-finish plaster skim flowing seamlessly across all angles and window reveals.
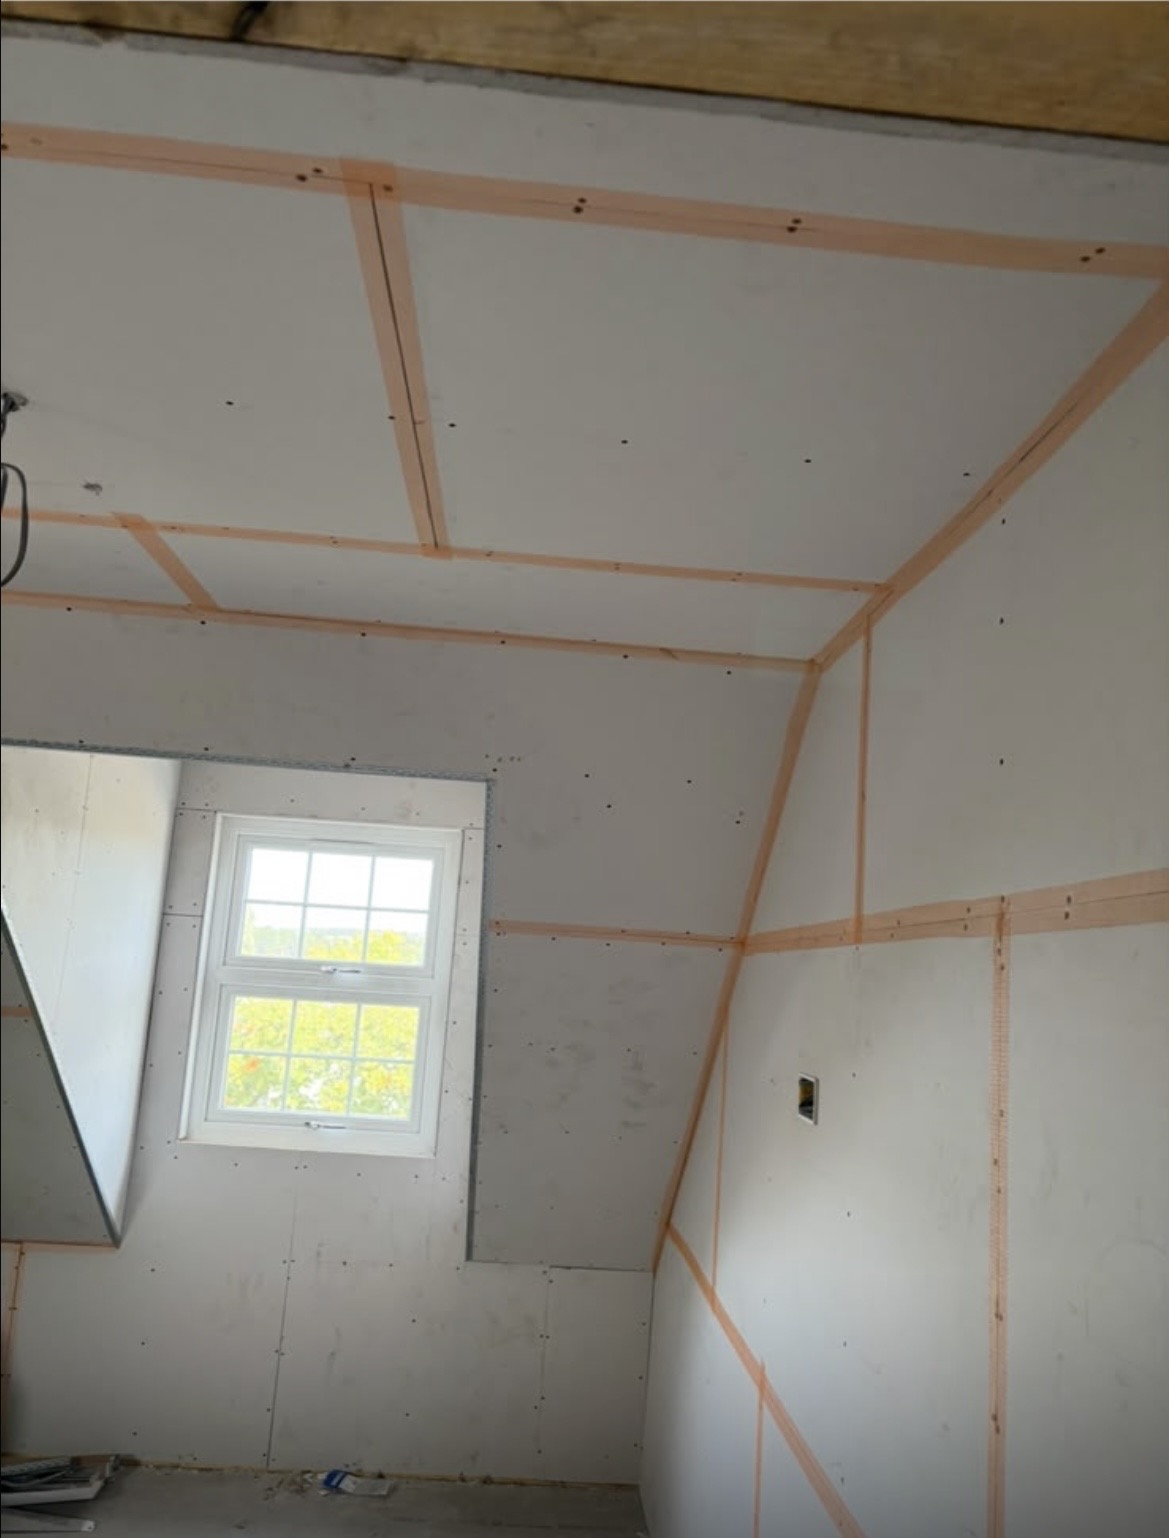 START • 01Boarded & Scrim Taped
1. Dormer Boarding, Angles & Scrim Tape (Start)
Cut and fixed plasterboard sheets securely screwed into timber rafters, corner reinforcement beads installed on dormer returns, and high-tensile tape on joints.
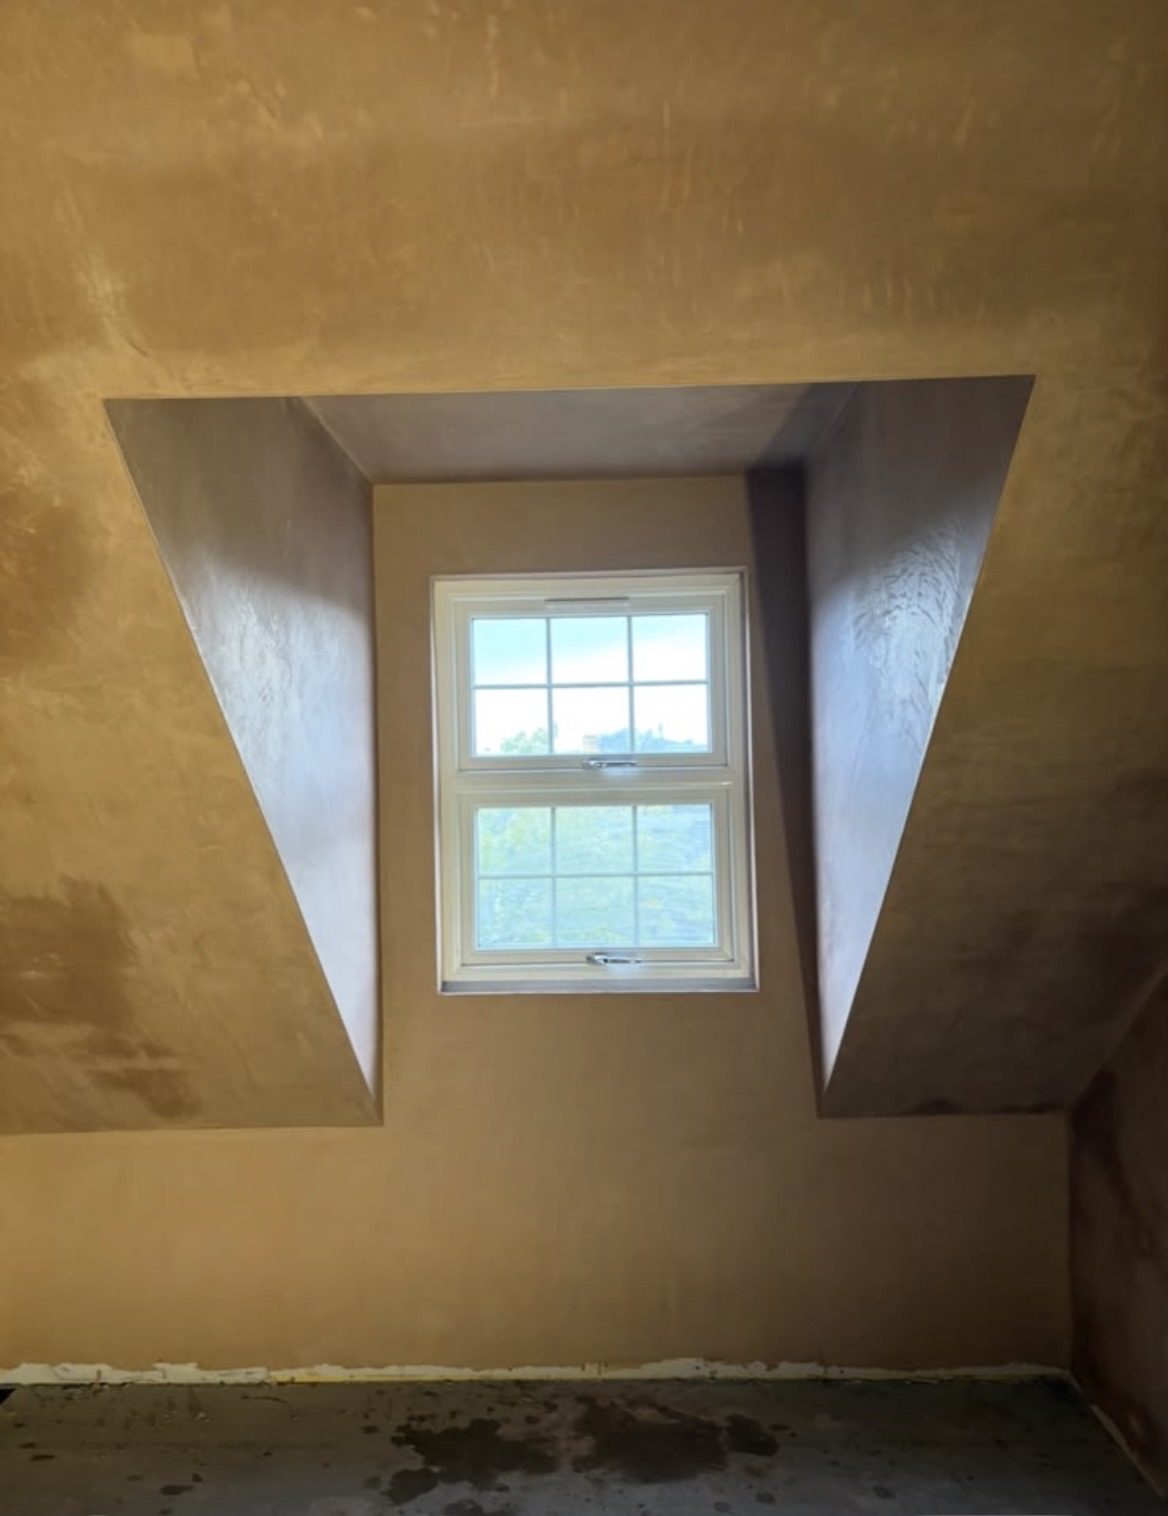 FINISH • 02Flawless Multi-Finish Skim
2. Baby-Smooth Plaster Skim Finish (Finish)
Two wet-on-wet coats trowelled to razor-flat perfection around the dormer window soffit, splay cheeks, and pitched ceiling, polished ready for decoration.
Vaulted Ceiling & Velux Skylights: Start to Finish
Step 1: Bare plasterboard drywalling with precise ceiling angles and cable drops ready for scrim tape and bonding. Step 2: Completed, mirror-smooth two-coat Thistle Multi-Finish polish seamlessly wrapping each roof light.
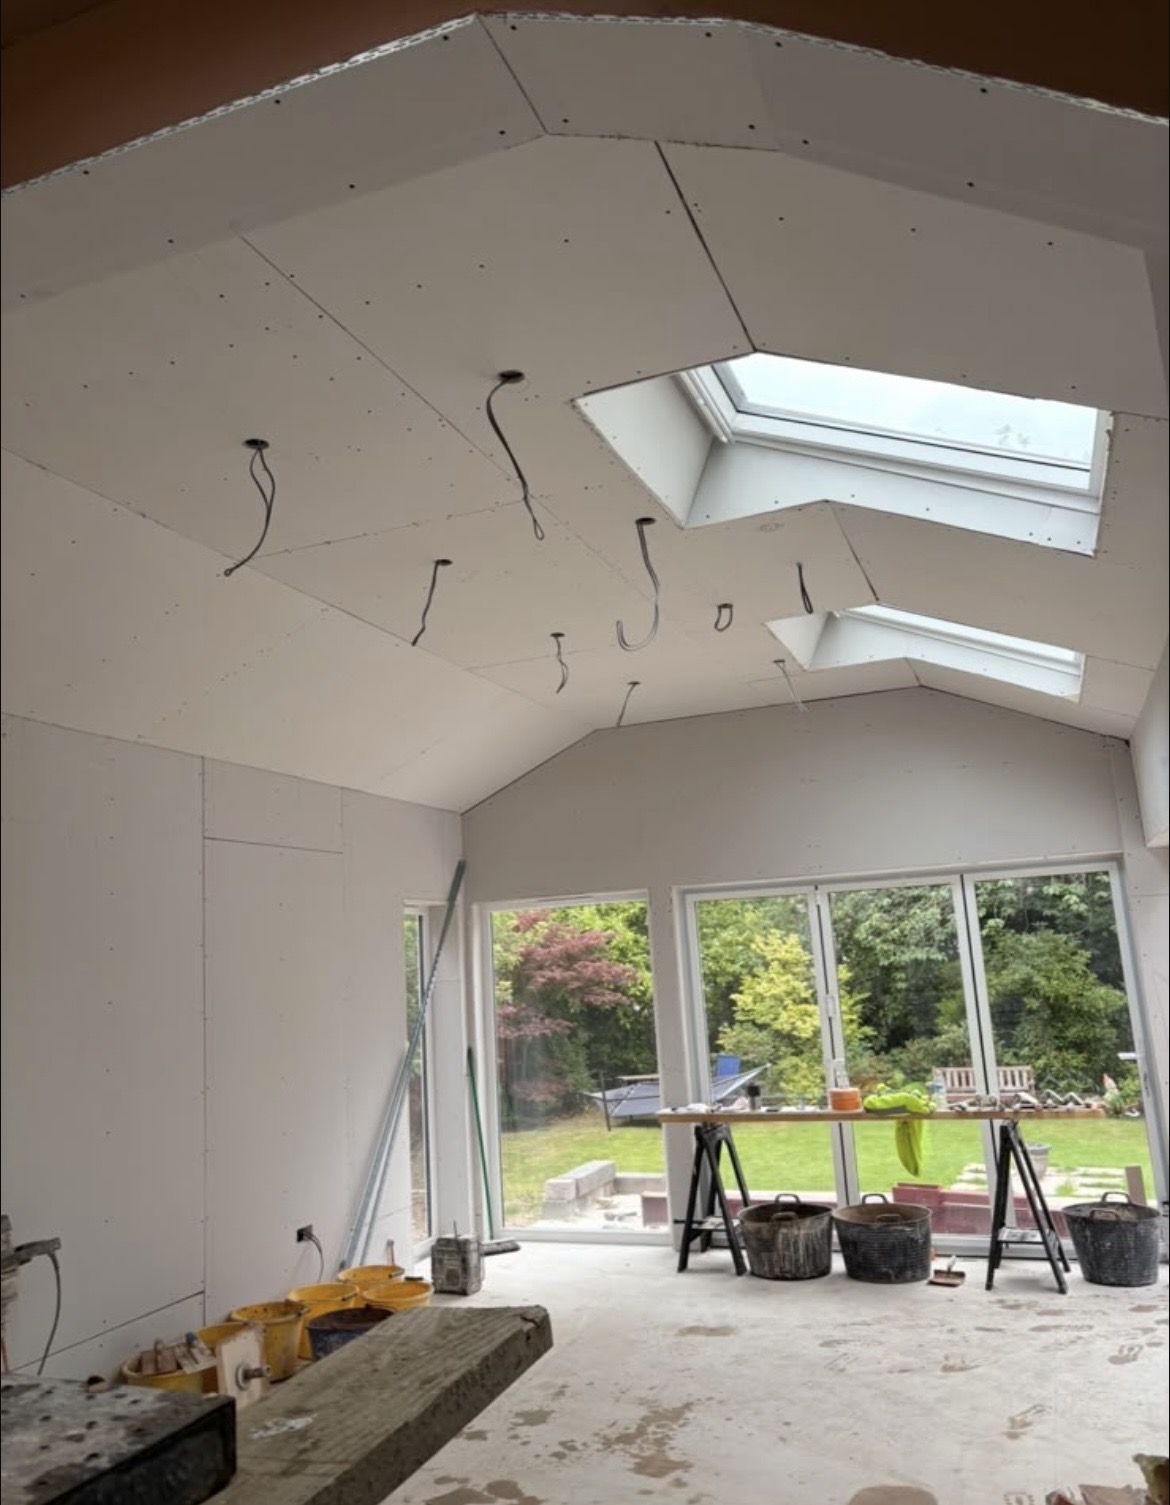 START • 01Drywall Boarding & Prep
1. Plasterboard Drywall & Angle Setting (Start)
Drywall boarding cut to true ceiling pitch, lighting conduits set in place, and high-tensile mesh tape applied to all sheet joints.
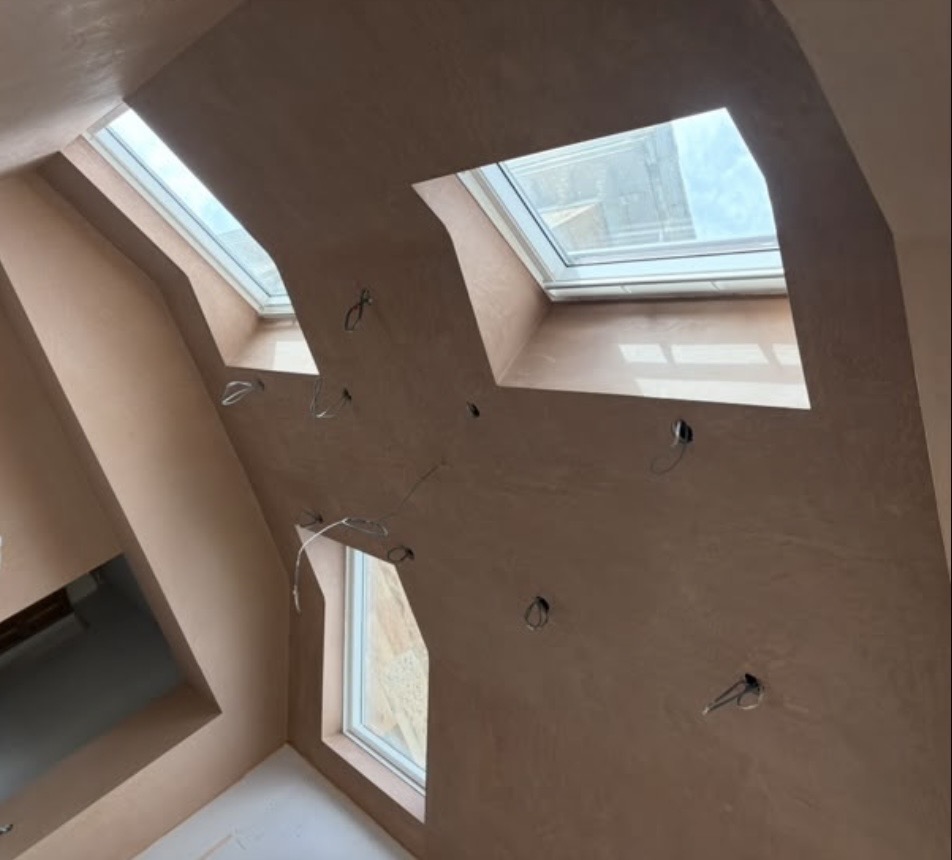 FINISH • 02Flawless Multi-Finish Skim
2. Glass-Smooth Multi-Finish Polish (Finish)
Consecutive wet-on-wet trowel passes polished to absolute perfection around all skylight corners and ceiling lines, ready for painter's mist coat.
French Door Reveal & Banding: Start to Finish
Step 1: Raw, broken roughcast edges after door installation requiring stop beads and mortar keying. Step 2: Sharp, smooth-floated white architectural render band creating a protective frame around the new patio doors.
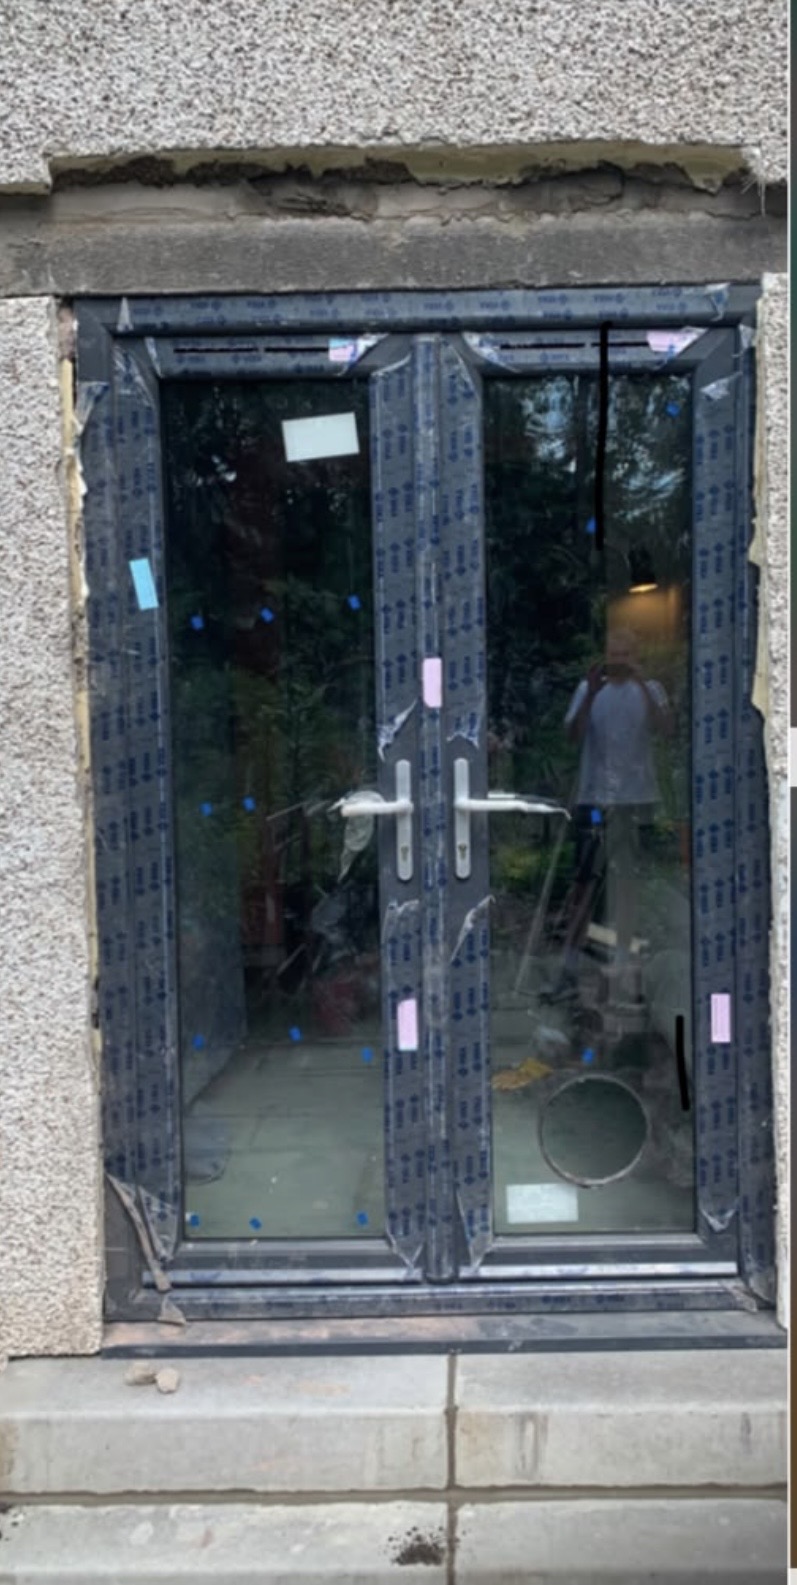 START • 01Raw Roughcast Aperture
1. Damaged Roughcast Edge & Lintel (Start)
Loose roughcast chipped clean, reveal beads measured and fixed to true plumb, bonding coat keyed to bridge substrate transitions.
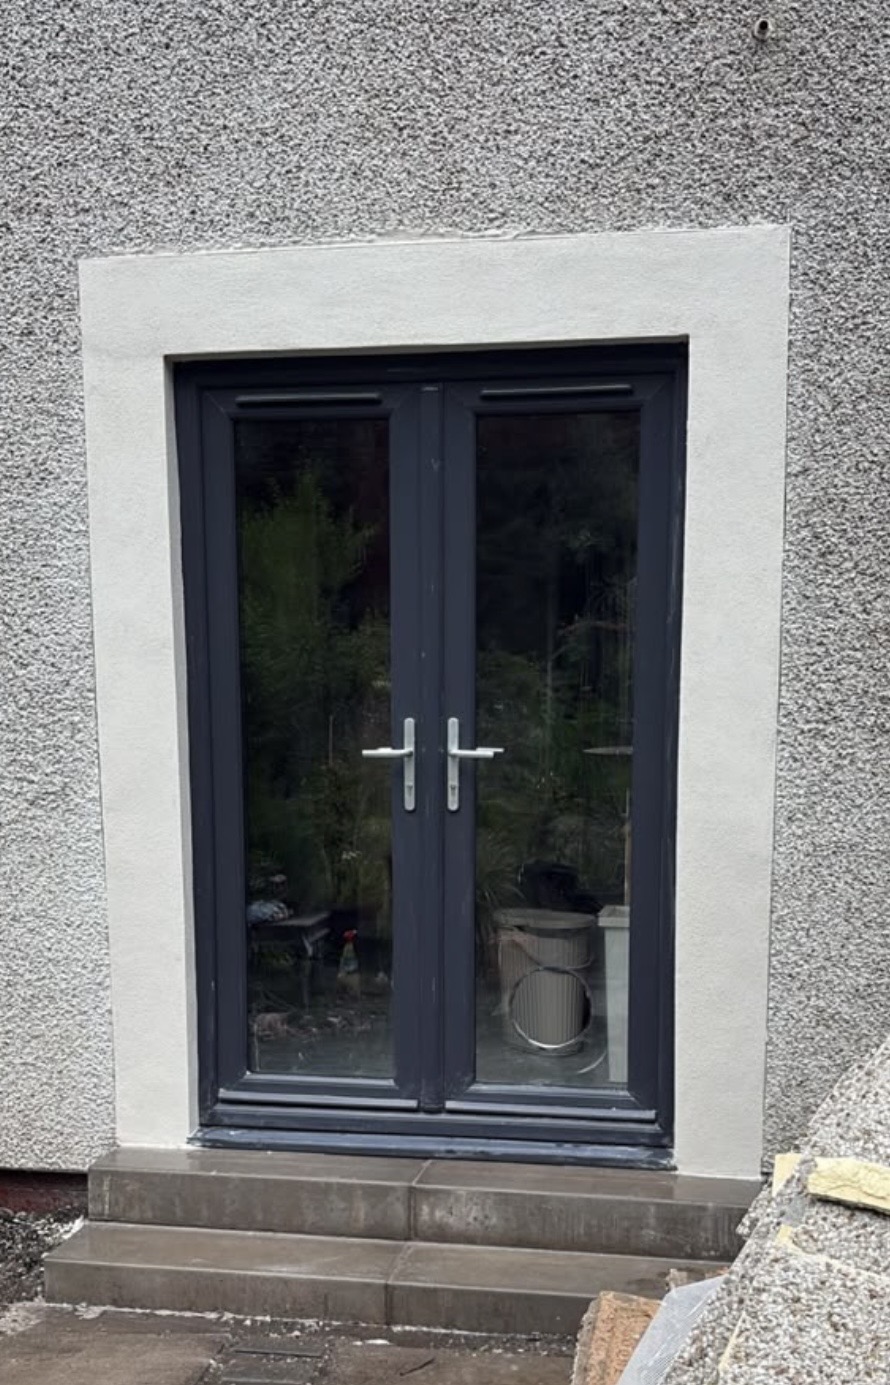 FINISH • 02Smooth Architectural Band
2. Clean Smooth Render Border Band (Finish)
Waterproof exterior render sponge-floated to crisp lines, framing the anthracite French doors cleanly against the roughcast wall.
Garden Retaining Wall: In Exact Order from Start to Finish
See this real Glasgow transformation: from the weathered, exposed old brick wall needing mechanical preparation, to the pristine, weather-sealed white spar roughcasting finish with crisp plumb angles.
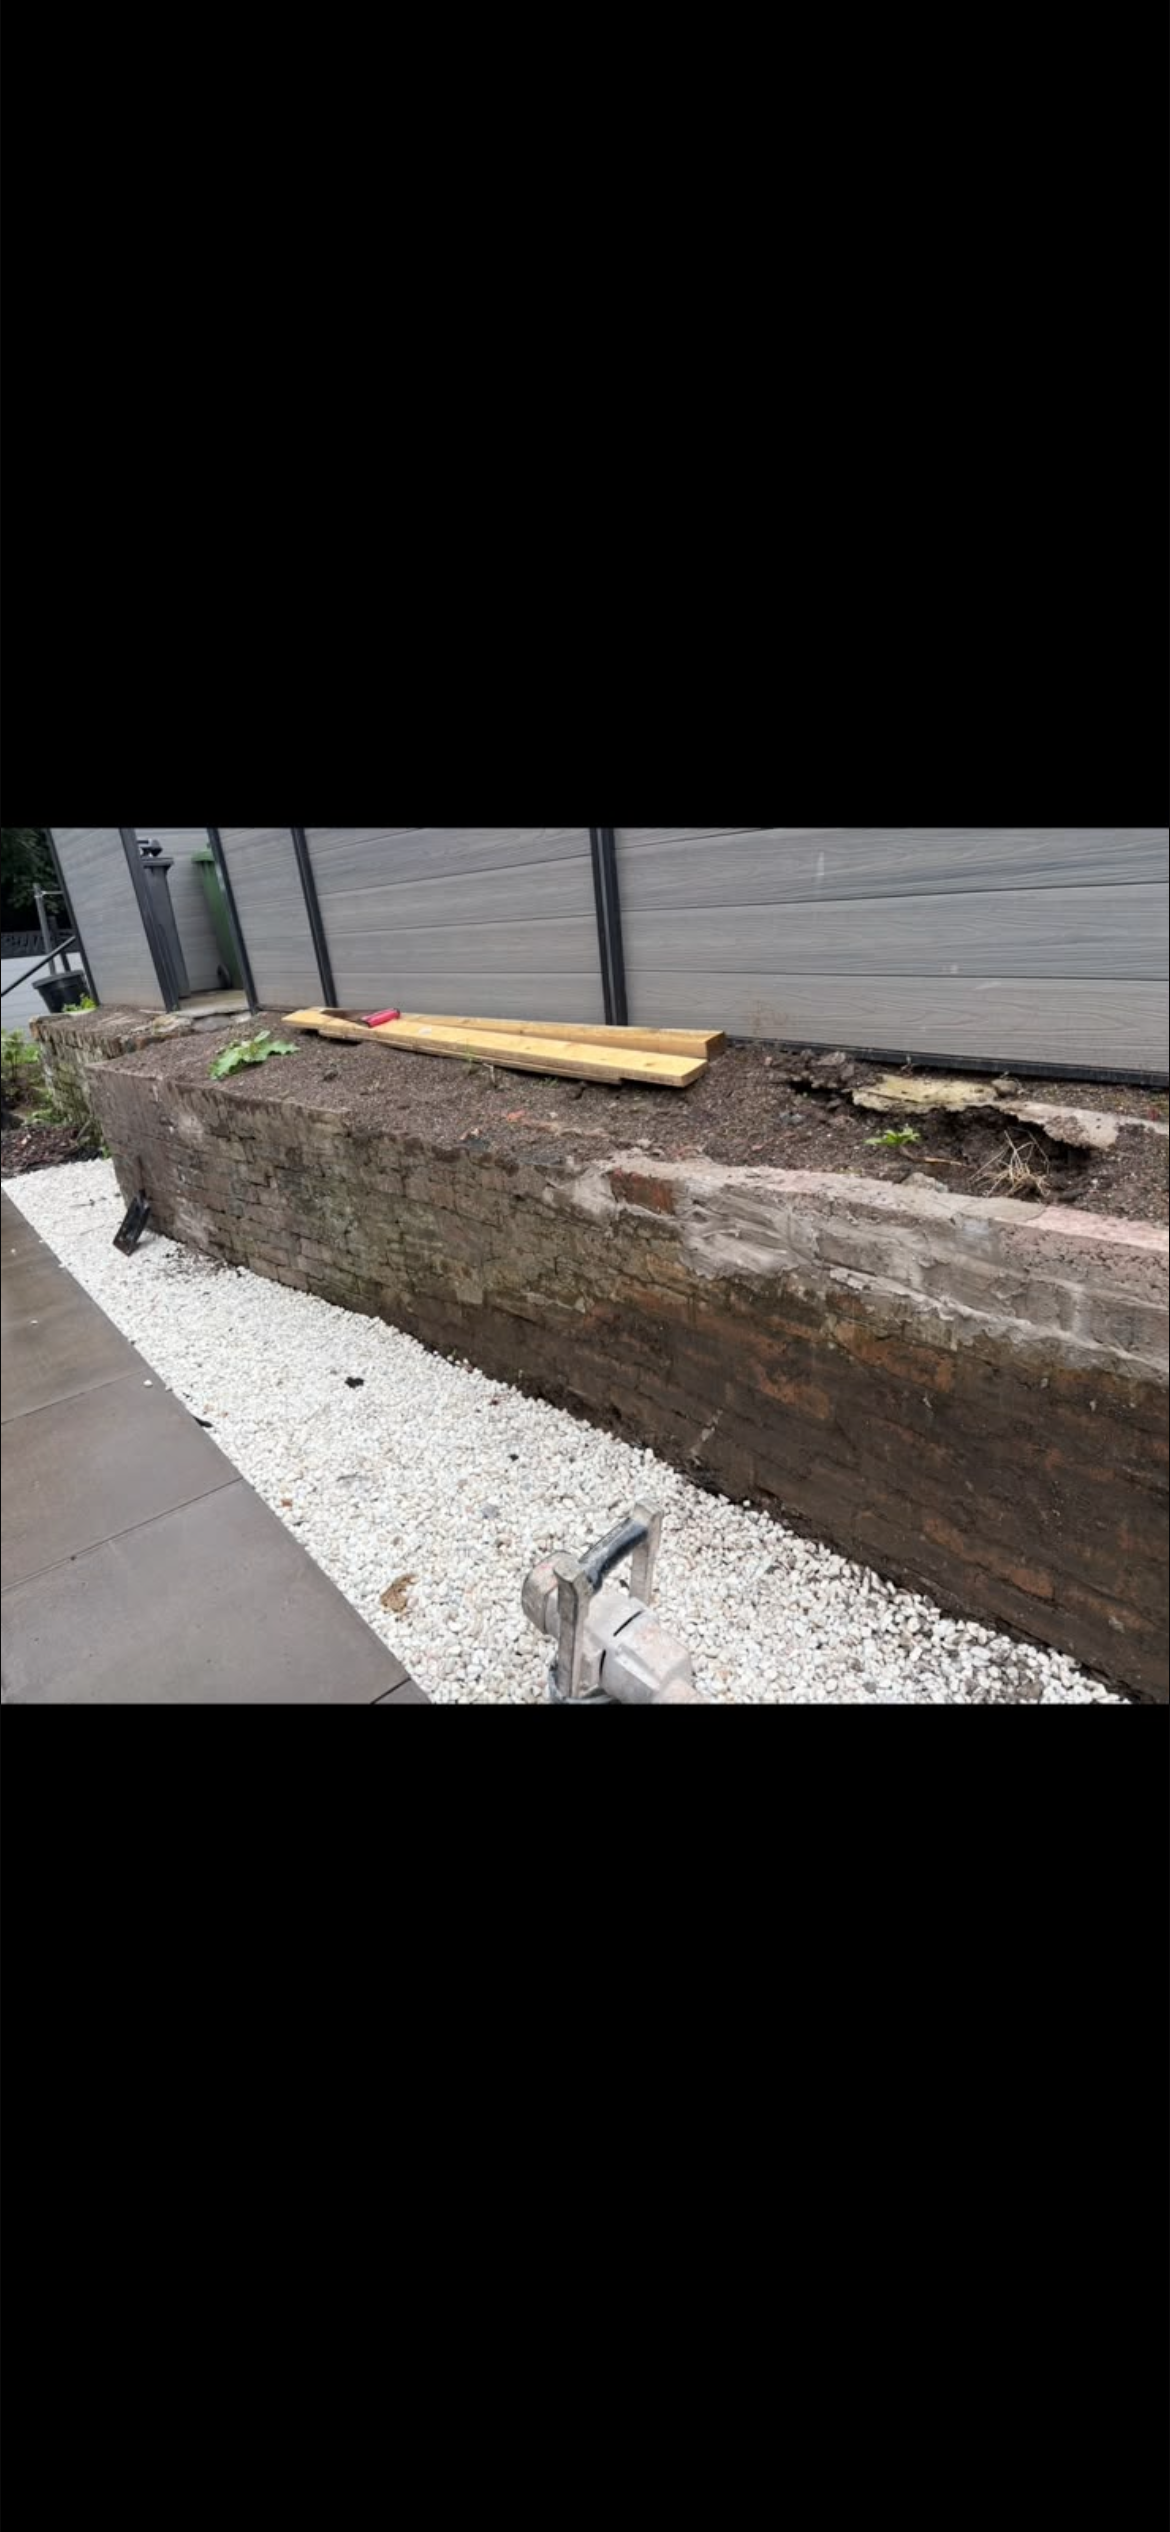 START • 01Bare Brick Substrate
1. Substrate Raked & Keyed (Start)
Old failing mortar raked back, moss cleared, soil level cleared back, and mechanical suction barrier primed ready for the waterproof roughcast scratch basecoat.
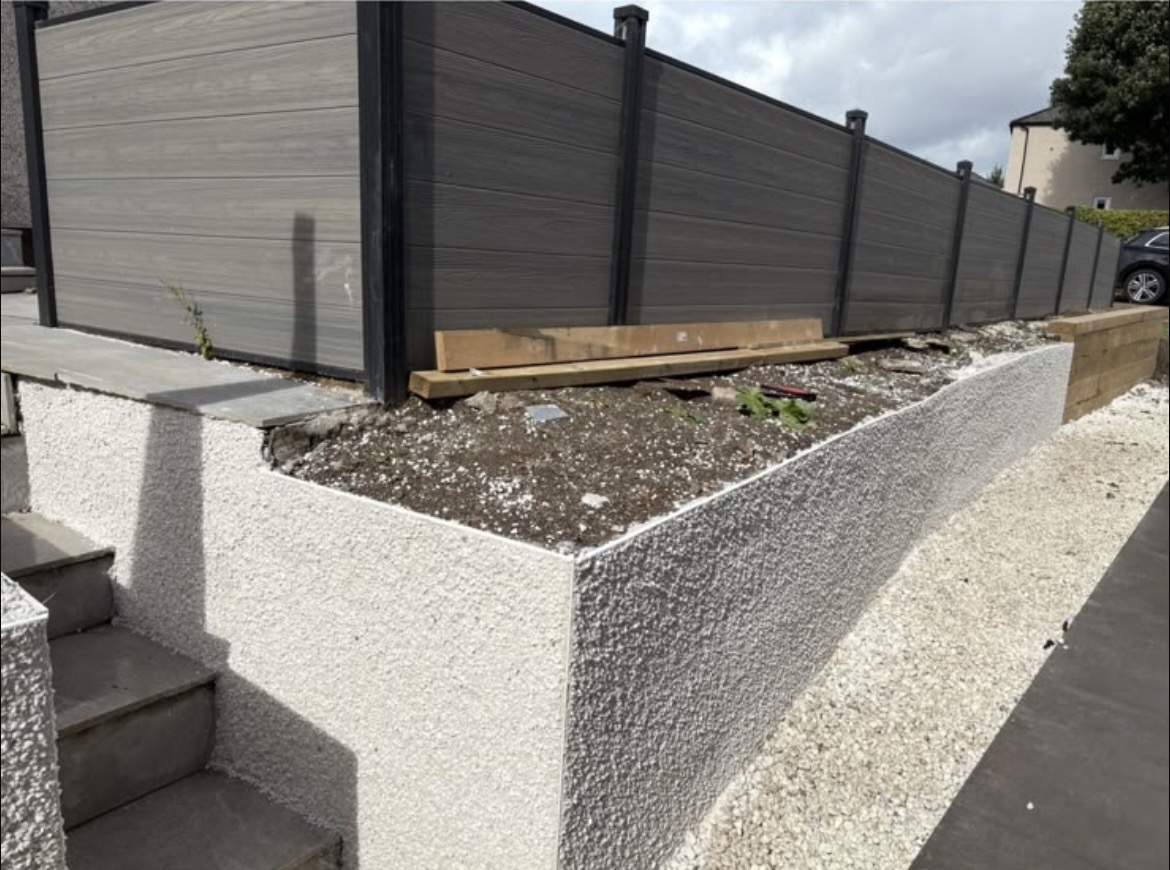 FINISH • 02Flawless Roughcast Finish
2. Flawless White Spar Roughcast (Finish)
Polymer buttercoat applied and dashed with bright washed Scottish aggregates. Crisp protective beading on all outer angles, steps, and coping transitions. 100% weather guaranteed.
Modern Residential Silicone Elevation & Dark Plinth Detail
Showcasing the multi-angle start-to-finish precision of our new silicone thin-coat systems. Engineered with contrasting dark charcoal basecourses, crisp window reveals, and seamless soffit terminations.
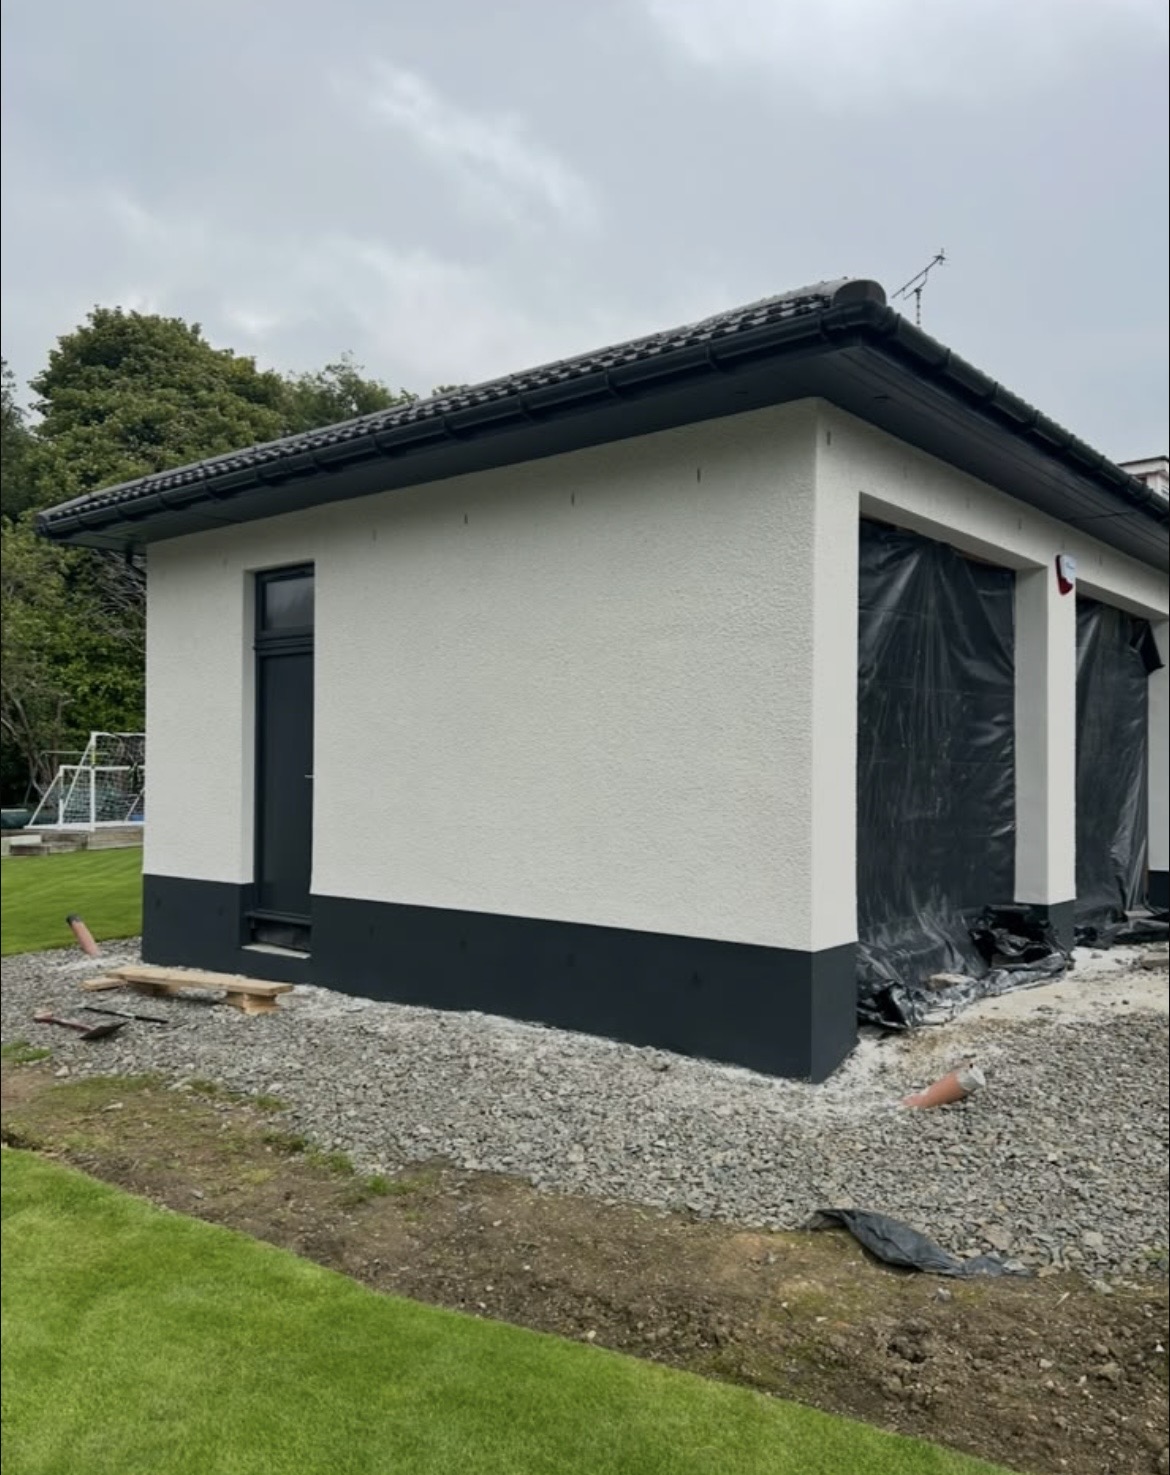 Elevation 1
Garage Block & Basecourse Plinth
Hydrophobic white silicone render with contrasting dark charcoal waterproof base plinth along the foundation.
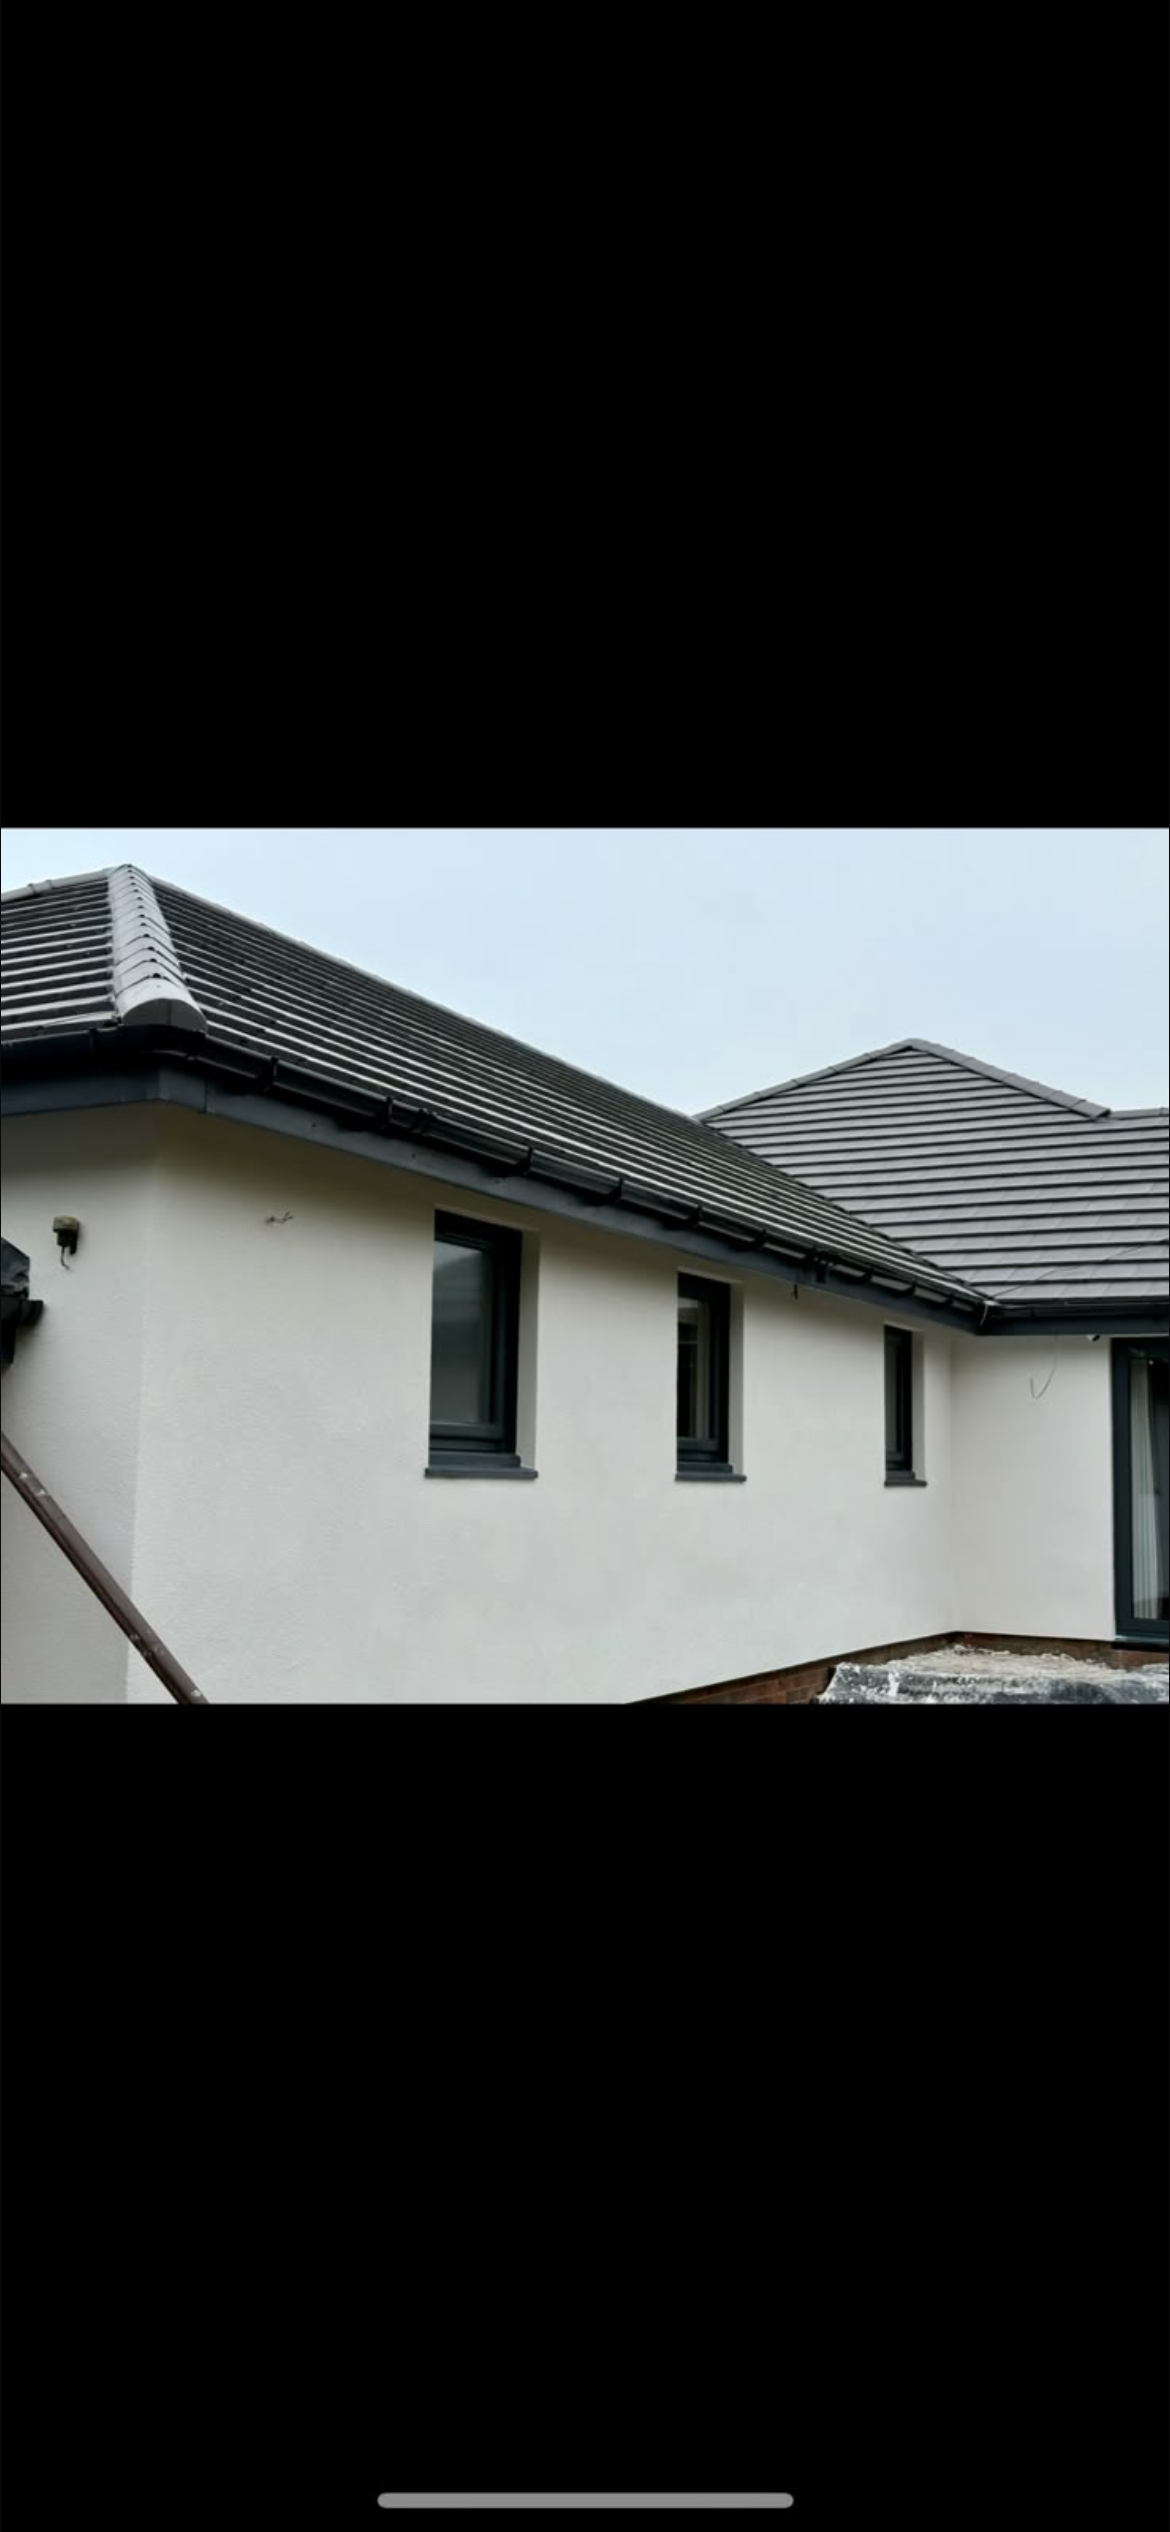 Elevation 2
Window Reveals & Slate Roof Integration
Impeccable reveals around anthracite grey double glazing, flush to eaves and interlocking roof tiles.
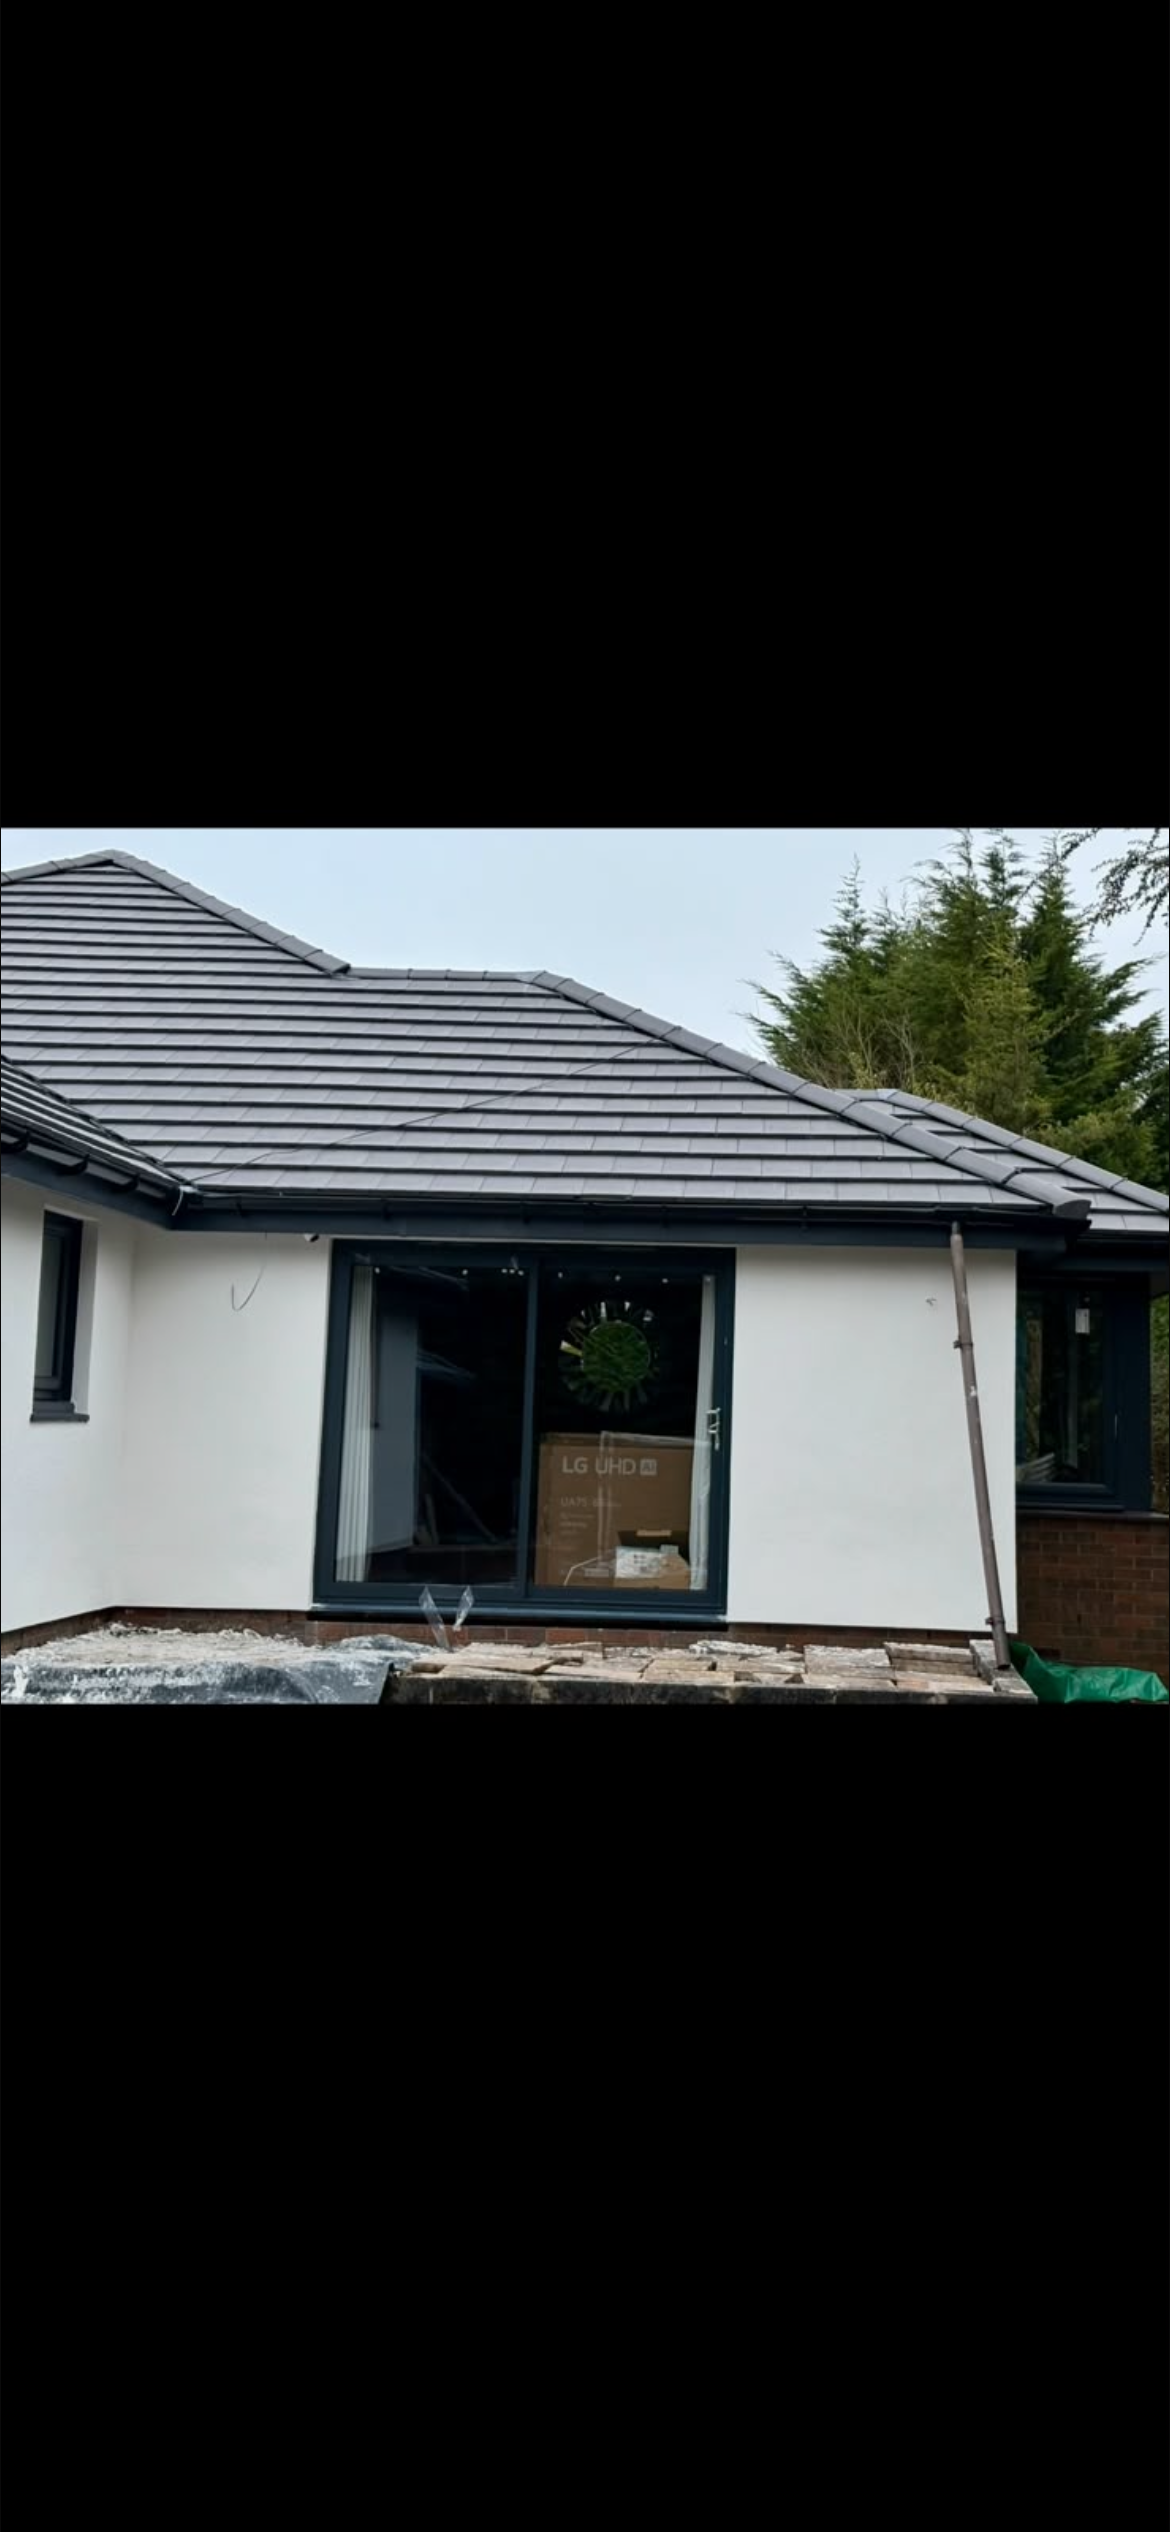 Handover
Patio Sliding Doors & Final Reveal
Completed rear elevation ready for patio stonework. Zero cracks, self-cleaning, and 100% guaranteed.
Bespoke Rotunda Pavilion: Order of Work from Start to Finish
Executed by Roc Plastering in Glasgow and surrounding areas. Documented from initial bare brickwork, through basecoats, on-site setup with our company van, to the finished silicone render coat.
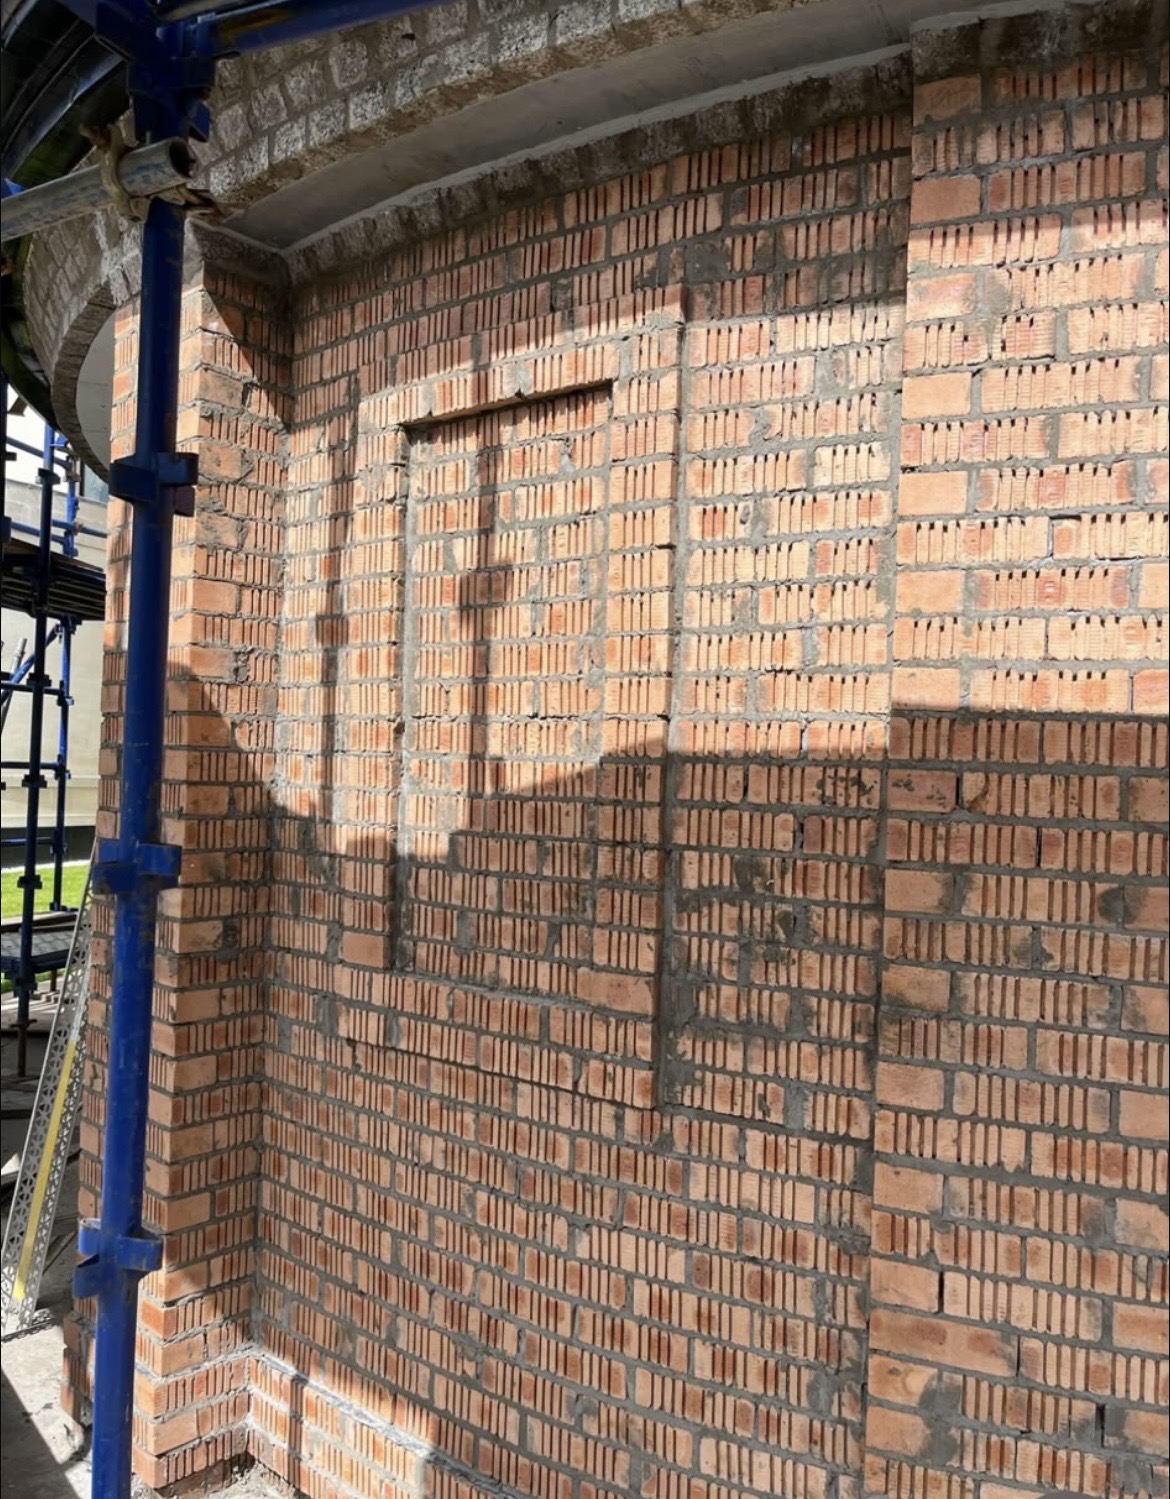 01. START
1. Substrate & Brick
Inspection of curved brickwork and mechanical keying.
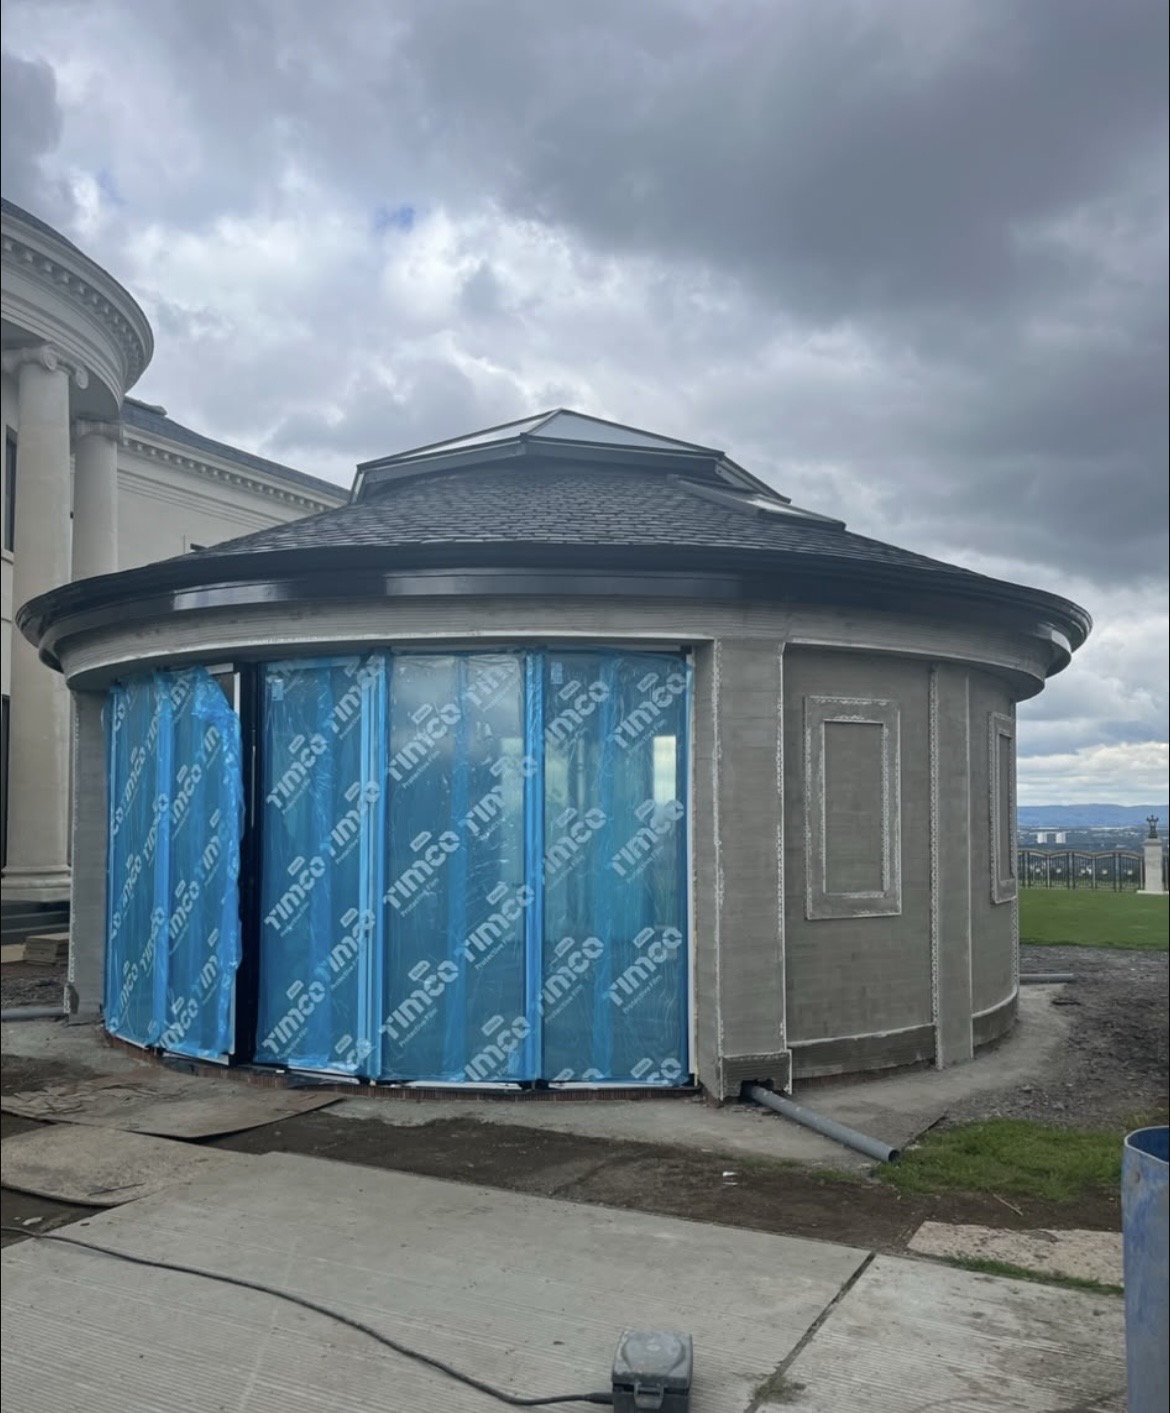 02. BASECOAT
2. Scratch & Mesh
Protective wrap, reinforced mesh & recessed moulding beads.
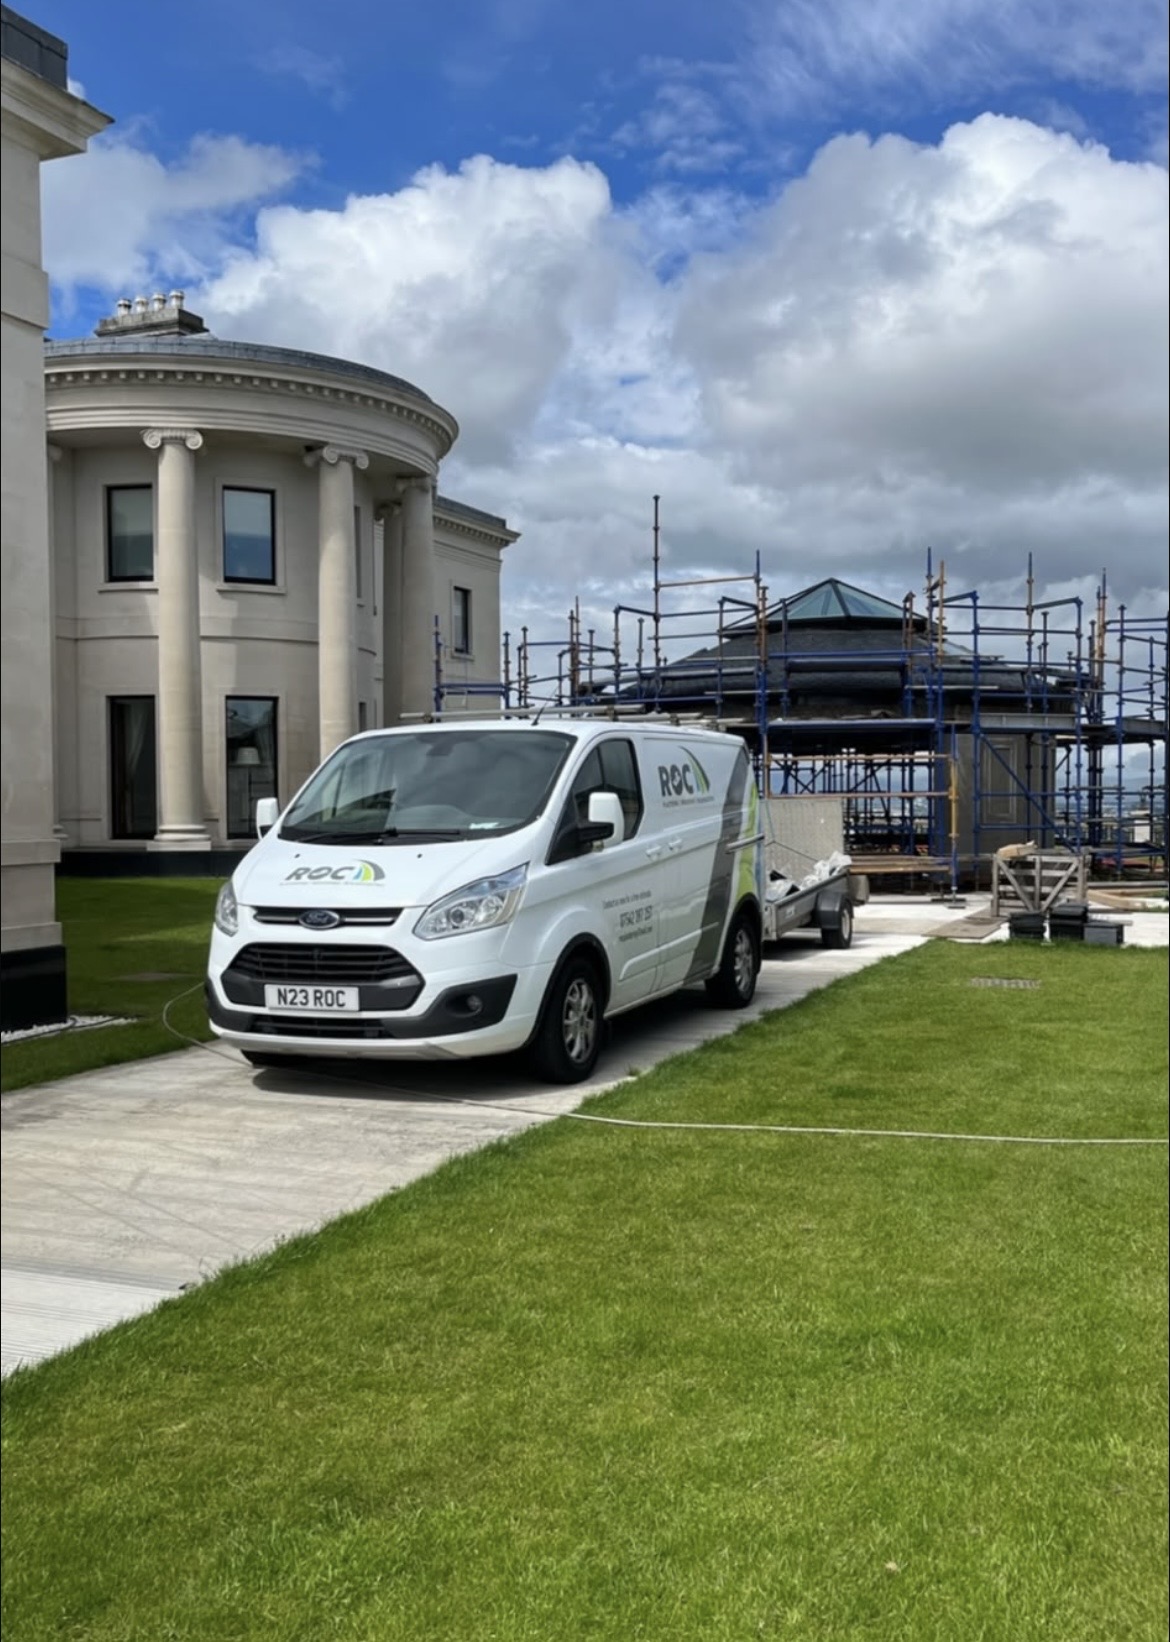 03. ON SITE
3. Scaffolding & Setup
Roc Plastering trade van on site and continuous access.
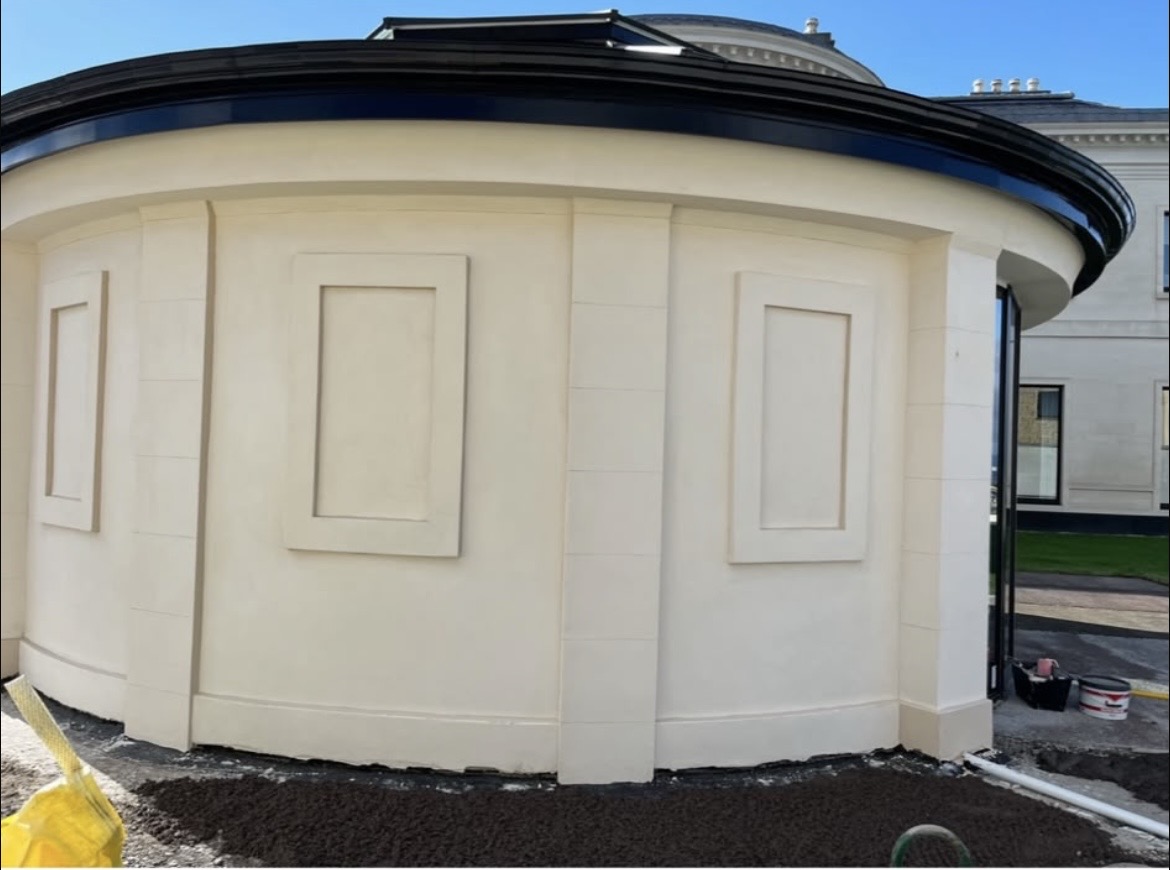 04. SILICONE
4. Silicone Coat
Thin-coat flexible silicone floated to razor-sharp lines.
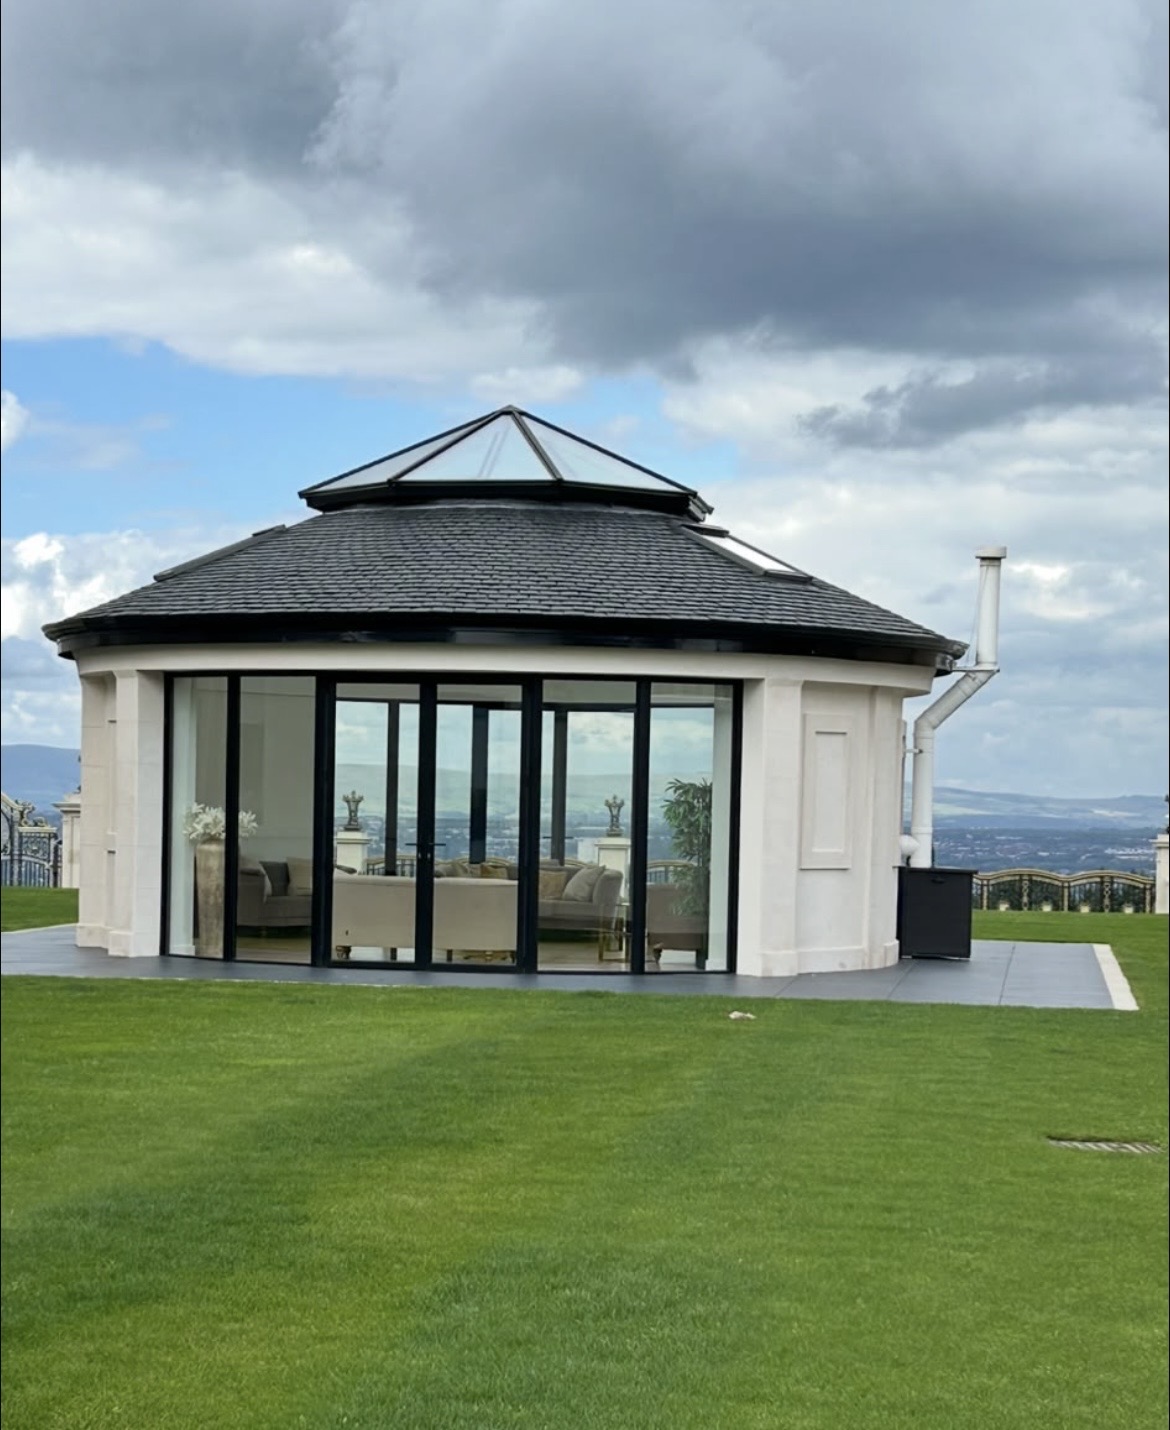 05. FINISH
5. Flawless Finish
Guaranteed hand-over, panoramic doors, pristine site.
Have a Similar Project in Glasgow?
From historic tenement wall repairs to contemporary new silicone finishes, Roc Plastering provides guaranteed workmanship and free estimates.